Today, we’re delving into the world of camp percolators – a must-have tool for any outdoor brewing adventure. If you’ve never heard of a camp percolator before, fear not, because we’re here to guide you through the ins and outs of this classic camping coffee maker. From understanding what a camp percolator is and learning how to use it on a camp stove, to whether or not you need a filter and how long to percolate your precious brew, we’ve got you covered. So grab a cup of joe, sit back, and let’s dive into the wonderful world of camp percolators.
Introduction
A camp percolator is a handy tool for brewing coffee while camping. It allows you to make coffee over an open fire or a camp stove, making it a favorite among outdoor enthusiasts. But if you’re not familiar with how to use a camp percolator, it can be a bit confusing. We will guide you through the steps of using a camp percolator to make a perfect cup of coffee in the great outdoors.
- Gather your equipment: Before you start, make sure you have all the necessary equipment. You will need a camp percolator, coffee grounds, water, and a heat source such as a campfire or camp stove.
- Prepare the percolator: Begin by removing the top part of the percolator, which is called the percolator basket. Fill the bottom chamber with cold water; the amount will depend on how many cups of coffee you want to make. Use the markings inside the percolator to guide you.
- Add coffee grounds: The amount of coffee grounds you use depends on your personal preference and the strength of coffee you desire. A general rule of thumb is to use one tablespoon of coffee grounds per cup of water. Adjust according to your taste.
- Assemble the percolator: Place the percolator basket back onto the bottom chamber of the percolator, ensuring it fits securely. Make sure the basket is clean and free from any leftover grounds.
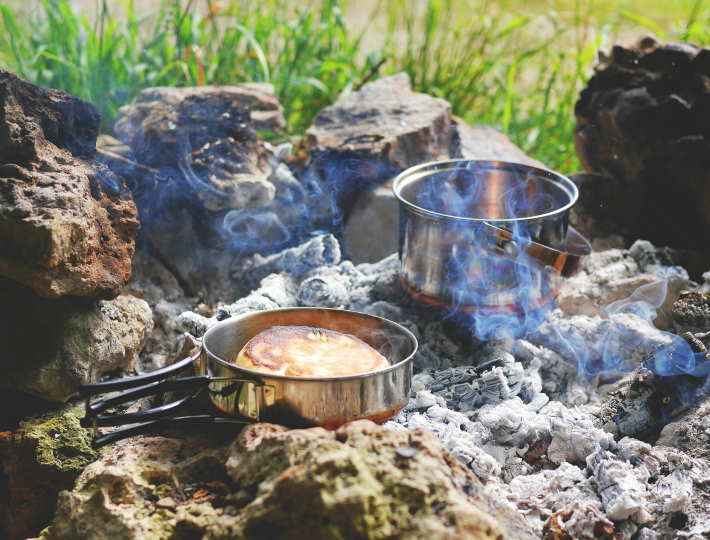
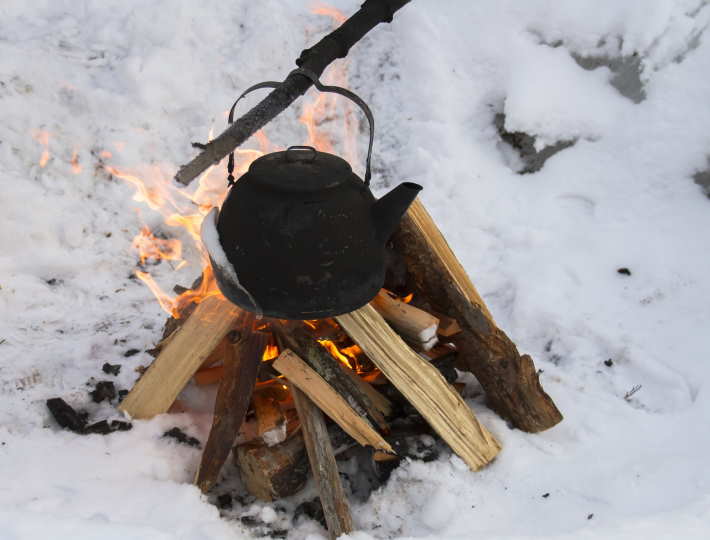
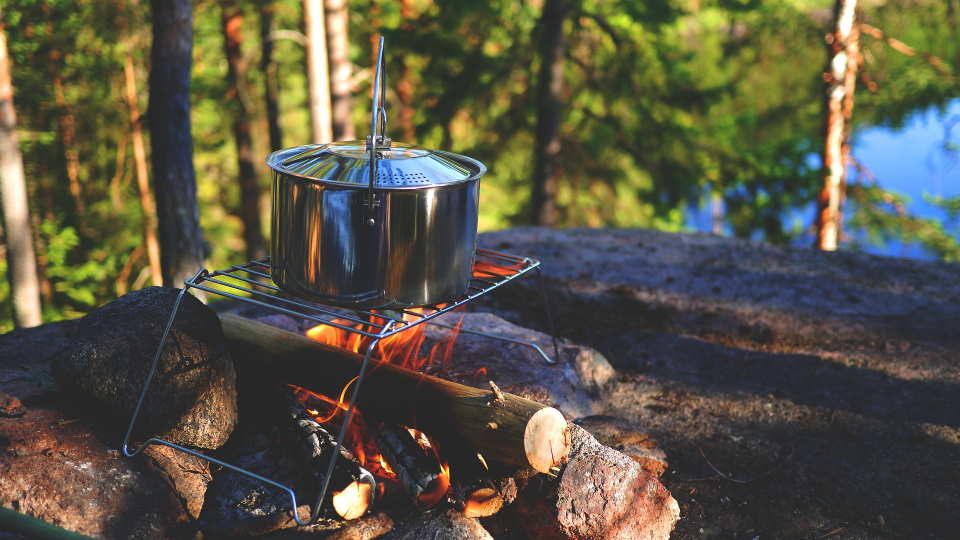
- Heat the percolator: Now it’s time to heat up your percolator. If using a campfire, position the percolator on a sturdy metal grate or directly onto the embers. If using a camp stove, set the percolator on the burner and turn on the heat.
- Monitor the process: As the water heats up, the coffee will start percolating. Keep an eye on the process and listen for the familiar sound of the percolating coffee. This means that the water is boiling and being forced up through the coffee grounds.
- Time it: The brewing time can vary depending on your preference and the type of coffee you are using. On average, it takes around 7-10 minutes for the coffee to percolate. Keep an eye on the color of the liquid and the strength of the aroma to gauge when it’s done.
- Remove from heat and serve: Once the coffee has finished percolating, remove the percolator from the heat source. Carefully remove the percolator basket from the bottom chamber, ensuring you don’t burn yourself. Give the coffee a quick stir to mix the flavors and pour it into your mug or coffee cup.
- Pro tip: It’s always a good idea to clean your percolator thoroughly after each use. Use a mild dish soap and warm water to wash all the components, ensuring there are no coffee grounds left behind. This will help maintain the quality of your percolator and ensure a better-tasting cup of coffee.
What Is a Camp Percolator?

A camp percolator is a type of coffee maker that is specifically designed for use during camping trips. It is a portable and compact device that allows campers to enjoy a fresh and hot cup of coffee even when they are in the wilderness. Unlike traditional coffee makers that require electricity, a camp percolator operates using a camp stove or an open fire. It is a popular choice among outdoor enthusiasts who cannot go without their daily dose of caffeine, even when they are far away from the comforts of home.
Using a camp percolator is a simple and straightforward process. First, the percolator is filled with water, usually up to the fill line marked on the inside of the pot. Next, coffee grounds are added to the percolator basket, which is a small metal basket that sits on top of the water chamber. The lid is then secured tightly onto the percolator to ensure a proper seal and to prevent any heat loss during the brewing process.

Once everything is set up, the percolator is placed on a camp stove or over an open fire. The heat from the stove or fire causes the water to boil, and as a result, steam is generated. The steam rises through a hollow tube in the percolator and percolates through the coffee grounds in the basket. This process allows the water to extract the flavors and oils from the coffee grounds, resulting in a robust and flavorful cup of coffee.
- The first step is to gather all the necessary supplies, including the camp percolator, coffee grounds, and a heat source such as a camp stove or an open fire.
- Next, fill the percolator with water up to the indicated fill line.
- Add the desired amount of coffee grounds to the percolator basket.
- Secure the lid tightly onto the percolator to ensure a proper seal.
- Place the percolator on the camp stove or over the open fire.
- Allow the water to boil, which will generate steam that percolates through the coffee grounds.
- Monitor the brewing process and adjust the heat as needed to maintain a steady percolation.
- Once the desired strength is reached, remove the percolator from the heat source and carefully pour the brewed coffee into cups or mugs.
- Enjoy a hot cup of freshly brewed coffee in the great outdoors!
It is worth noting that some camp percolators come with a built-in filter, while others require the use of an additional filter. The filter helps to remove any sediment or coffee grounds, resulting in a smoother cup of coffee. If your camp percolator does not have a built-in filter, it is recommended to use a paper filter or a reusable metal filter to ensure a cleaner brew.
Percolation times can vary depending on the desired strength of the coffee and the heat source used. On average, it takes around 7-10 minutes for the percolation process to complete. However, it is always a good idea to refer to the manufacturer’s instructions for specific brewing times and recommendations.
| Pros | Cons |
|---|---|
|
|
How Do You Use a Percolator on a Camp Stove?
A camp stove percolator is a handy tool for brewing coffee while you are camping in the great outdoors. It allows you to have a fresh and delicious cup of coffee even when you don’t have access to electricity. However, using a percolator on a camp stove requires some knowledge and technique to ensure that you get the best results. We will guide you through the step-by-step process of using a percolator on a camp stove, so you can enjoy a perfect cup of coffee on your next camping trip.
Step 1: Prepare your percolator
- Clean the percolator: Before using your percolator, make sure to clean it thoroughly. Wash all the parts, including the pot, basket, and stem, with warm soapy water and rinse them well.
- Assemble the percolator: Once the parts are clean and dry, reassemble the percolator. Place the basket and stem back into the pot, ensuring they fit securely.
Step 2: Add water and coffee
- Measure the water: Fill the percolator with the desired amount of water, depending on how many cups of coffee you want to brew. It’s recommended to follow the instructions provided by the percolator manufacturer to determine the ideal water-to-coffee ratio.
- Add coffee grounds: Place the coffee grounds into the basket of the percolator. The amount of coffee grounds to use will also depend on your personal preference and the instructions provided with the percolator.
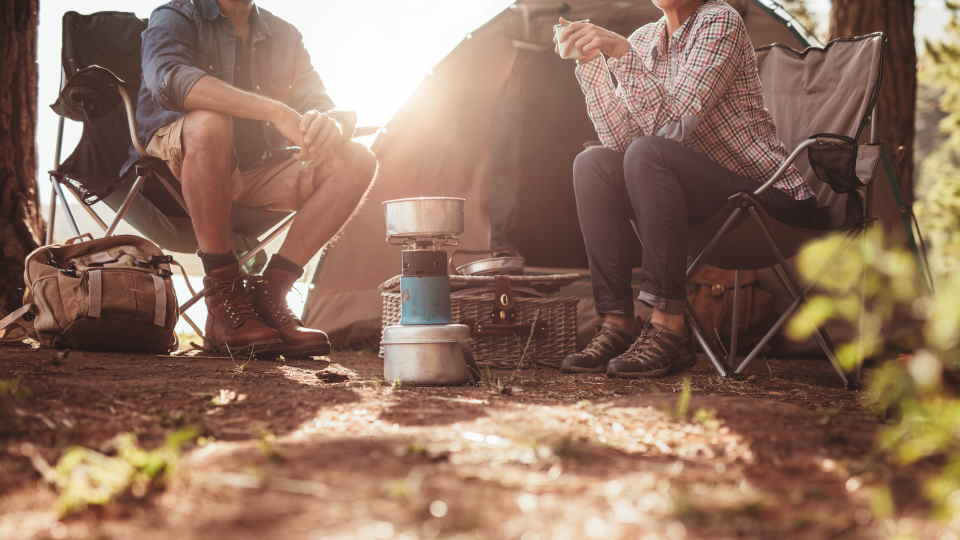
Step 3: Set up the camp stove
Place your camp stove on a stable and level surface. Ensure that there is enough fuel for the burner to operate throughout the brewing process. Follow the instructions for setting up and lighting your specific camp stove model.
Step 4: Percolate the coffee
Place the percolator on the camp stove burner. Turn on the heat to medium or as recommended by the percolator manufacturer. As the water heats up, it will start to percolate through the coffee grounds and rise to the top of the stem. The percolation process extracts the flavor and aroma from the coffee grounds.
Step 5: Monitor and adjust
Keep an eye on the percolator while the coffee is brewing. As the water reaches the top and starts percolating, monitor the color and strength of the coffee. If you prefer a stronger brew, you can let it percolate for a little longer. If you want a milder cup, you can remove the percolator from the heat earlier.
Step 6: Serve and enjoy
Once the coffee has finished percolating, carefully remove the percolator from the camp stove. Allow it to cool down for a few minutes before serving. Pour the hot brewed coffee into your favorite mug or cups, and savor the delightful taste of freshly brewed coffee in the midst of nature.
Using a percolator on a camp stove is a simple and rewarding way to enjoy coffee while camping. Following these steps will help you make a delicious brew every time. So, don’t forget to pack your camp stove percolator on your next adventure and experience the joy of sipping a hot cup of coffee surrounded by nature.
Do You Use a Filter With a Camping Percolator?
A camping percolator is a popular tool for making coffee while enjoying the great outdoors. It is a simple and convenient way to brew coffee at a campsite, providing a rich and flavorful cup of coffee that can start your day off right. However, one question that often comes up when using a camping percolator is whether or not to use a filter. Let’s dive deeper into the topic and explore whether using a filter with a camping percolator is necessary or not.
Using a filter with a camping percolator is a matter of personal preference. Some campers prefer to use a filter to ensure a smoother and sediment-free cup of coffee, while others enjoy the more traditional and robust taste that comes from brewing coffee without a filter. It ultimately depends on the type of coffee experience you prefer.
If you choose to use a filter with your camping percolator, there are a few options available. One option is to use disposable paper filters. These filters are typically placed in the percolator basket before adding coffee grounds. They effectively trap any coffee grounds or sediment, resulting in a cleaner cup of coffee. Another option is to use a reusable mesh filter. This type of filter is made of durable materials and can be easily washed and reused, making it a more eco-friendly choice.
- If you decide to use a disposable paper filter, make sure to choose the correct size that fits your percolator basket. A filter that is too small may not be effective in preventing grounds from ending up in your coffee.
- Before adding coffee grounds to the percolator basket, place the filter inside and ensure it sits flat and secure. This will prevent the filter from folding or collapsing during the brewing process.
- Once the filter is in place, add the desired amount of coffee grounds. Avoid overfilling the basket, as this can affect the flavor and brewing process.
On the other hand, if you prefer to skip the filter, you can simply add the coffee grounds directly to the percolator basket. When brewing without a filter, some sediment may end up in your coffee, but this can also contribute to a more robust flavor.
How Long Do You Percolate Coffee?
Coffee percolation is a classic method of brewing coffee that has been used for generations. It involves boiling water in a pot and cycling it through coffee grounds to extract the rich flavors and aromas. While percolators may have fallen out of favor with the rise of automatic coffee machines, they have recently regained popularity among camping enthusiasts and coffee purists. If you’re new to percolation or looking to perfect your brewing technique, one of the key questions you may have is how long should you percolate your coffee?
- Start with freshly ground coffee: Before you begin percolating, it’s essential to use freshly ground coffee beans. The size of the grounds can significantly impact the brewing time, so ensure they are coarsely ground. Aim for a tablespoon of coffee per cup of water for a milder taste or adjust according to your preference.
- Heat the water: Fill your percolator’s bottom chamber with cold water. Place it on a heat source, such as a camp stove or fire. As the water heats up, the steam pressure builds, making it rise through the percolator tube and cascade over the coffee grounds.
- Monitor the percolation process: Once the water starts percolating, it’s crucial to keep an eye on the process. The best way to judge when your coffee is ready is by observing the color and intensity. When the liquid turns a rich amber hue, it indicates that most of the flavors have been extracted. However, if you prefer a stronger brew, you can let it continue percolating for a little longer.
- Experiment for desired strength: The ideal brewing time varies depending on personal preference and the type of coffee being used. Generally, a coffee percolator should be allowed to percolate for 5-10 minutes to obtain a balanced flavor. However, some individuals may prefer a shorter or longer brewing time. Experiment with different durations until you achieve the desired strength.
In conclusion, the time required to percolate coffee depends on various factors, including personal taste and the percolator itself. Adapting the brewing time can help you customize the strength of your coffee to suit your preferences. Whether you enjoy a mild morning brew or a robust and bold cup, experimenting with different percolation times will allow you to discover your perfect cup of coffee.