Snowboarding is an exhilarating sport that requires the right gear to ensure a safe and enjoyable experience on the slopes. One of the most important pieces of equipment for a snowboarder is their bindings. Properly fitting and adjusting your bindings can greatly impact your performance and comfort while riding. In this blog post, we’ll discuss the key steps to take when setting up your snowboard bindings, including choosing the right bindings, adjusting the highbacks, setting the toe and ankle straps, and centering the bindings on the board. By the end of this post, you’ll have the knowledge to properly set up your bindings for a great day on the mountain.
Choosing The Right Bindings
Choosing the right bindings for your snowboard can be a daunting task, especially if you’re new to the sport. With so many different options available, it’s easy to get overwhelmed. But fear not, my fellow shredders! I’m here to guide you through the process and help you find the perfect bindings for your riding style.
First things first, let’s talk about flex. The flex of your bindings refers to how stiff or soft they are. Generally, there are three types of flex: soft, medium, and stiff. Soft flex bindings are more forgiving and great for beginners or riders who prefer a more playful and surfy feel. On the other hand, stiff flex bindings provide better response and control, making them ideal for aggressive riders who like to charge down the mountain. And if you like a little bit of both worlds, medium flex bindings are the way to go.
Next up, let’s delve into size. Bindings come in different sizes to accommodate different boot sizes. You want to make sure your bindings are a perfect match for your boots to ensure a secure and comfortable fit. Most binding manufacturers provide size charts that correlate boot sizes with the appropriate binding size. So be sure to check those out before making a purchase. The last thing you want is to have your boots hanging over the edges of your bindings or feeling cramped inside them.
Lastly, consider compatibility with your snowboard. Not all bindings are compatible with all snowboards, so it’s essential to pay attention to the mounting system. The two most common mounting systems are 2×4 and 4×4. The numbers correspond to the number of inserts on your snowboard, and the distance between them. Most bindings are compatible with both systems, but it’s always a good idea to double-check before buying.
| Flex | Size | Compatibility |
|---|---|---|
| Soft | Small (US 5-7) | 2×4 and 4×4 |
| Medium | Medium (US 7-9) | 2×4 and 4×4 |
| Stiff | Large (US 9-12) | 2×4 and 4×4 |
So there you have it, folks! When choosing the right bindings for your snowboard, remember to consider the flex, size, and compatibility. These factors will ensure that you have the best riding experience possible. Happy shredding!
Adjusting The Highbacks

Are you ready to hit the slopes and shred some powder? Before you embark on your snowboarding adventure, it’s essential to ensure that your gear is properly adjusted for maximum comfort and performance. In this blog post, we will dive into the topic of adjusting the highbacks on your snowboard bindings.
Firstly, let’s understand what highbacks are and why they are important. Highbacks are the vertical support panel located on the back of your snowboard bindings. They provide crucial support to your calves and help control your snowboard’s movement. Another function of highbacks is to distribute pressure evenly across your boot, ensuring a snug and secure fit.
When adjusting the highbacks, it’s essential to consider your riding style and personal preference. Whether you prefer a more aggressive, forward-leaning stance or a relaxed, upright position, adjusting the highbacks can significantly impact your riding experience.
- Here are a few key steps to adjust your highbacks:
- Step 1: Loosen the highback rotation screw – Located on the side of the binding, this screw allows you to rotate the highback.
- Step 2: Rotate the highback to your desired position – Experiment with different angles to find the best fit for your riding style. For a more aggressive stance, a forward-leaning angle is recommended, while a more relaxed stance would require a more upright position.
- Step 3: Tighten the highback rotation screw – Once you have found the optimal position, make sure to secure it by tightening the rotation screw. However, be careful not to over-tighten, as it may restrict the movement of the highback.
| Benefits of adjusting highbacks: |
|---|
| Improved control and responsiveness: Adjusting the highbacks can enhance your ability to make quick turns and maneuver your snowboard with precision. By finding the right angle, you’ll have better control over your board’s movements. |
| Enhanced comfort: A properly adjusted highback can prevent discomfort and fatigue in your calves. The ideal position will provide adequate support without causing any unnecessary pressure points. |
| Reduced risk of injury: Adjusting the highbacks not only improves control but also helps prevent potential injuries. A snug fit and proper alignment will minimize the risk of ankle sprains and other injuries while snowboarding. |
Remember, adjusting the highbacks is a personal preference, and what works for one rider may not work for another. Take the time to experiment and find the perfect position that suits your riding style and comfort level. So, get out there, make the necessary adjustments, and hit the slopes with confidence!
Setting The Toe And Ankle Straps
When it comes to snowboarding gear, one important component that often gets overlooked is the bindings. Bindings play a crucial role in ensuring a secure and comfortable connection between your boots and the snowboard. And within the realm of bindings, setting the toe and ankle straps just right can make a world of difference in your riding experience.
Before we dive into the nitty-gritty of adjusting these straps, let’s take a moment to appreciate the innovation behind modern snowboarding bindings. The days of struggling with cumbersome and impractical strap systems are long gone. Nowadays, bindings come equipped with user-friendly features that make the process of adjusting and securing your feet a breeze.
Let’s start with the toe straps, which are designed to keep your boots snugly in place. When adjusting them, it’s important to ensure that they sit comfortably across the top of your boot’s toe box. Avoid cranking them down too tightly, as this can restrict blood flow and cause discomfort during long shredding sessions. On the other hand, if they’re too loose, you risk your boot slipping out of the binding, which can be a major safety hazard.
As for the ankle straps, they provide the majority of support and control when carving down the mountain. When setting these straps, make sure they wrap securely around your ankle, without causing any pressure points or excessive tension. Remember, you want a balance between snugness and freedom of movement. Experiment with different tension levels until you find the sweet spot.
Checklist for setting toe and ankle straps:
- Step 1: Position the toe straps across the top of your boot’s toe box.
- Step 2: Adjust the tension of the toe straps for a comfortable fit, avoiding both tightness and looseness.
- Step 3: Secure the ankle straps, making sure they wrap securely around your ankle without causing discomfort.
- Step 4: Test the tension and adjust as necessary, finding the right balance between snugness and freedom of movement.
Now that you know the basics of setting the toe and ankle straps, it’s time to hit the slopes and put your newfound knowledge to the test. Remember, each rider has unique preferences when it comes to binding setup, so don’t be afraid to experiment and fine-tune your settings until you find what works best for you. Happy shredding!
| Pros of proper strap adjustment: | Cons of improper strap adjustment: |
|---|---|
| 1. Enhanced control and stability: Properly set straps provide optimal support, allowing for precise maneuvers and smoother rides. | 1. Discomfort and pain: If straps are too tight or improperly positioned, they can cause unnecessary pressure and discomfort. |
| 2. Injury prevention: Correctly set straps minimize the risk of ankle injuries and twisted feet, providing a safer snowboarding experience. | 2. Reduced performance: Improper strap adjustment can hinder your performance on the slopes, limiting your ability to execute tricks and turns. |
| 3. Personalized comfort: When the toe and ankle straps are set just right, you’ll experience a comfortable fit that allows for extended riding sessions without discomfort. | 3. Instability and safety hazards: If straps are too loose, your boot may become dislodged from the binding, posing a safety risk during high-speed descents. |
Centering The Bindings On The Board
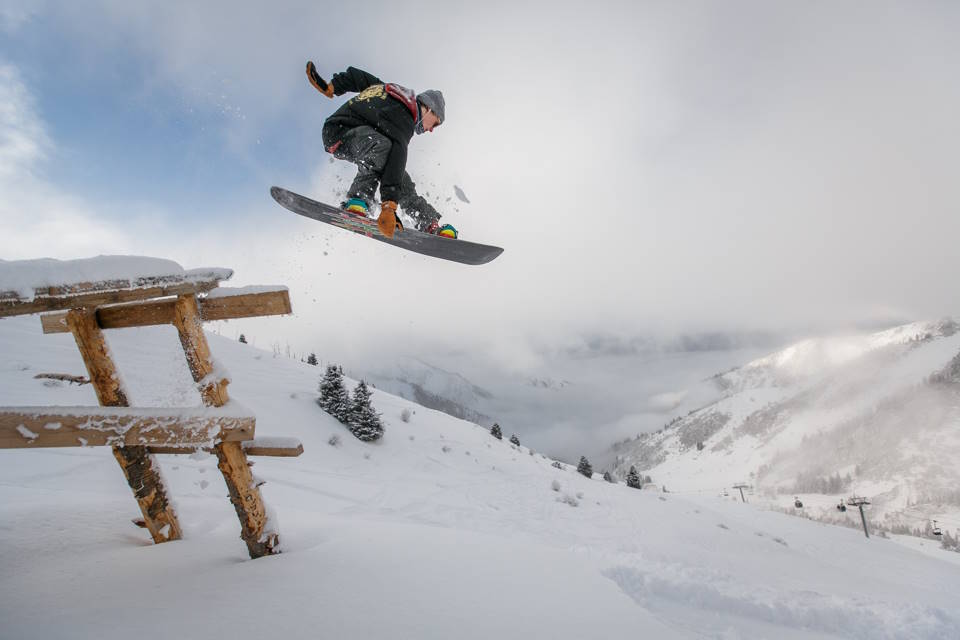
When it comes to snowboarding, having your bindings properly centered on the board is crucial for optimal performance and control. Centering the bindings ensures that your weight is evenly distributed, allowing for smoother turns and landing tricks with ease. In this blog post, we will delve into the importance of centering your bindings on the board and provide you with step-by-step instructions on how to achieve perfect alignment.
Before we dive into the nitty-gritty details, let’s first understand why centering your bindings is so important. When your bindings are not properly centered, it can throw off your balance and make it difficult to maintain control. Imagine riding your snowboard with one foot positioned further toward the nose while the other is closer to the tail – talk about an unbalanced ride! By centering your bindings, you ensure that both feet are placed equidistant from the nose and the tail, creating a more stable and balanced platform.
So, how do you go about centering your bindings on the board? Here’s a step-by-step guide:
- Step 1: Find the reference stance. The reference stance is the recommended position for your bindings, as indicated by the snowboard manufacturer. Look for the reference stance recommended in the user manual or on the board itself. This will serve as the starting point for centering your bindings.
- Step 2: Measure and mark. Use a tape measure to find the exact center of your snowboard. Once you’ve located the center, make a small mark with a pen or a piece of tape.
- Step 3: Position the bindings. Place your bindings on the board, ensuring that the center of each binding lines up with the mark you made in the previous step. Double-check the width between the bindings and make any necessary adjustments to ensure they are symmetrical.
- Step 4: Test it out. Strap into your bindings and take a few practice runs to see how the centered position feels. Pay attention to your balance and control while making turns or carving. If you still feel unbalanced or off-center, make minor adjustments until you find the perfect position.
By following these steps and centering your bindings on the board, you’ll notice a significant improvement in your snowboarding performance. Say goodbye to wobbly rides and hello to a stable and balanced snowboard experience!
| Benefits of Centering Your Bindings: |
|---|
|

