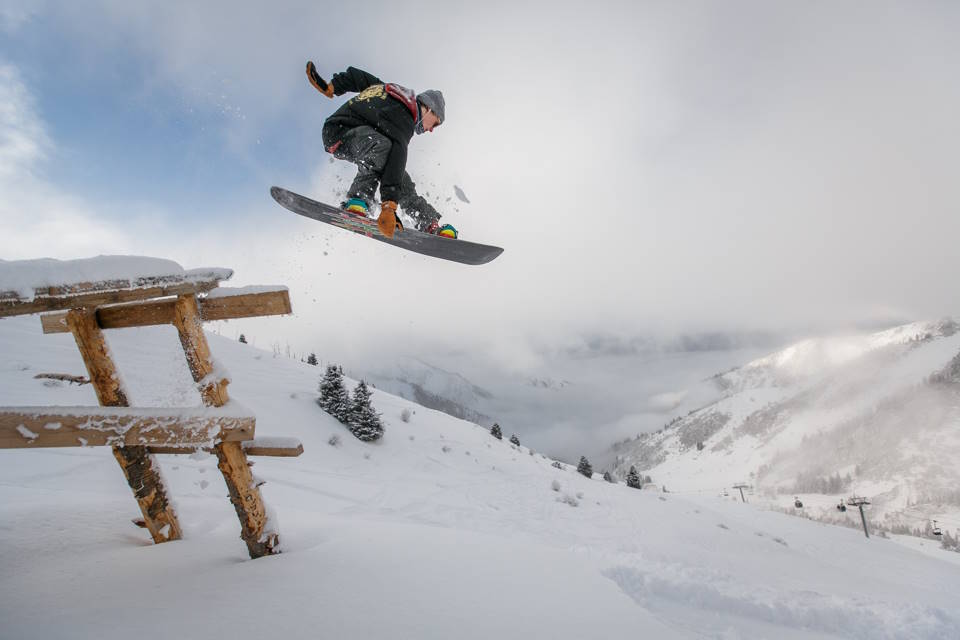
Are you ready to hit the slopes this winter? Before you can carve up the mountain, you’ll need to make sure your snowboard is properly prepared and equipped. In this guide, we’ll walk you through the necessary steps for getting your snowboard ready to ride. From gathering the tools you’ll need, to preparing the board itself, and attaching and adjusting the bindings, we’ve got you covered. By following these simple steps, you’ll be able to ensure that your snowboard is in top shape and ready for an epic day on the snow. So, let’s get started!
Gathering The Necessary Tools
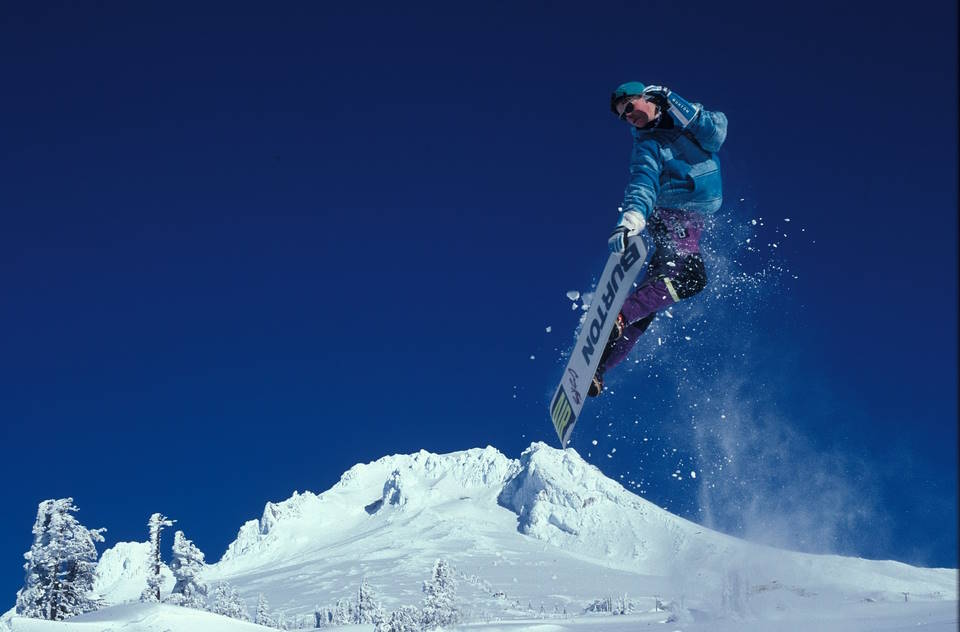
Before you hit the slopes and show off your snowboarding skills, it’s crucial to gather all the necessary tools. Trust me, you don’t want to be caught up in a snowstorm without the proper equipment. So, here’s a list of the must-have tools for an epic snowboarding adventure:
- Snowboard: Of course, a snowboard is at the top of the list. Make sure you choose one that suits your riding style, whether you prefer freestyle, freeride, or all-mountain snowboarding.
- Boots: The right pair of boots can make all the difference in your snowboarding experience. Look for boots that provide comfort, support, and a perfect fit. Don’t compromise on quality!
- Bindings: Bindings are what keep you connected to your snowboard. They should be adjustable, secure, and easy to use. Take your time to find the bindings that work best for you.
- Helmet: Safety first! Protect your noggin with a reliable helmet. It’s not only stylish but also crucial for preventing any head injuries on the slopes. Remember, your brain is your greatest asset!
- Goggles: Don’t let the blinding snow ruin your vision. Invest in a good pair of goggles to protect your eyes from the harsh elements and improve your visibility on the hill.
- Appropriate Clothing: Layer up! Choose clothing suitable for cold weather and snowboarding activities. Opt for moisture-wicking and insulated garments to keep you warm and dry throughout the day.
- Gloves: You’ll want to keep your hands cozy and functional. Look for waterproof gloves that offer both warmth and dexterity, allowing you to grip your board and adjust your gear with ease.
- Tool Kit: Lastly, don’t forget a tool kit. It’s always handy to have a set of tools for on-the-go adjustments and repairs. From screwdrivers to wrenches, make sure you have the basics covered.
Now that you know what to gather, it’s time to check your gear and make sure everything is in good condition. Having the necessary tools is the first step toward an unforgettable snowboarding adventure. So, gather up, gear up, and get ready for an exciting ride!
| Tools Checklist: | |
|---|---|
| Snowboard | ✔ |
| Boots | ✔ |
| Bindings | ✔ |
| Helmet | ✔ |
| Goggles | ✔ |
| Appropriate Clothing | ✔ |
| Gloves | ✔ |
| Tool Kit | ✔ |
Preparing The Snowboard
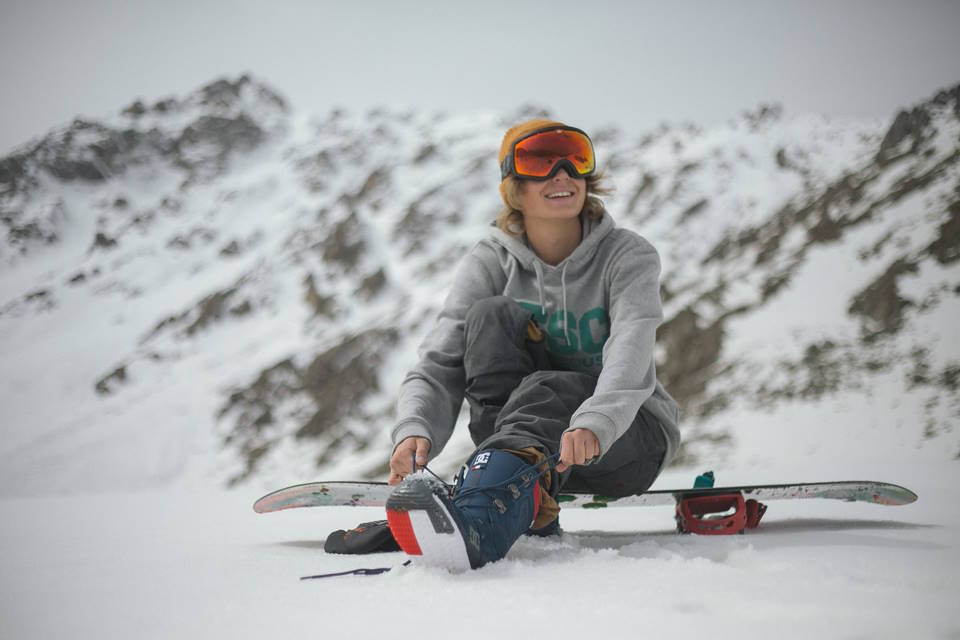
When it comes to hitting the slopes and enjoying some thrilling snowboarding action, it’s essential to have a well-prepared snowboard. Your snowboard is not just a piece of equipment; it’s your trusty companion that will help you navigate through the powder and pull off impressive tricks. So, before you strap on your boots and conquer the mountain, let’s dive into the necessary steps for preparing your snowboard and ensuring it’s in top-notch condition for your adventure ahead.
Gathering The Necessary Tools
Before you begin the snowboard preparation process, it’s important to gather the tools you’ll need. First on the list is a good snowboard wax. Waxing your snowboard helps to enhance its performance and increase its longevity. Additionally, grab a scraper and a wax iron. The scraper will be used to remove any excess wax, while the wax iron will help you evenly distribute the wax onto the board’s base. Lastly, don’t forget about a snowboard vise or a sturdy table clamp to secure your snowboard while you work on it. Now that we have our tools ready, let’s move on to the next step.
Waxing Your Snowboard
Waxing your snowboard is a vital step in its preparation. Not only does it make your board glide effortlessly on the snow, but it also protects the base from abrasion and moisture. Start by setting up your workspace – a clean and stable area to lay your snowboard flat. Next, turn on your wax iron and hold it against the snowboard wax, allowing it to slightly melt and drip onto the base. Once you have a few drips of wax on the base, use the wax iron to spread it evenly, making long, smooth strokes from tip to tail. Remember not to hold the iron in one spot for too long, as it may damage the board. After the wax has fully covered the base, allow it to cool and harden for a few minutes. Finally, use the scraper to remove the excess wax, following the same direction as your snowboard’s edges. Your snowboard is now waxed and ready to hit the slopes!
Checking And Adjusting Edges
Aside from waxing, another essential step in preparing your snowboard is checking and adjusting its edges. Your edges are what allow you to maintain control and grip while carving down the mountain. Start by visually inspecting the edges for any rust, burrs, or damage. If you notice any issues, gently use a file or a sharpening stone to smooth out those imperfections. Additionally, ensure that the edges are evenly beveled by using a dedicated tool or a file guide. Beveled edges help maximize your board’s performance and prevent any unwanted catching or slipping. Take your time to carefully assess and perfect your edges, and soon your snowboard will be razor-sharp and ready for action.
As a snowboarder, taking the time to properly prepare your snowboard is crucial for an optimized riding experience. Waxing your board will make it glide effortlessly, while checking and adjusting the edges will ensure optimal control and stability. So, don’t underestimate the power of snowboard preparation – it could be the key to unlocking your full snowboarding potential. Now, with your snowboard fully prepared, it’s time to strap on your boots, hit the slopes, and let the adrenaline-filled adventure begin!
Attaching The Bindings
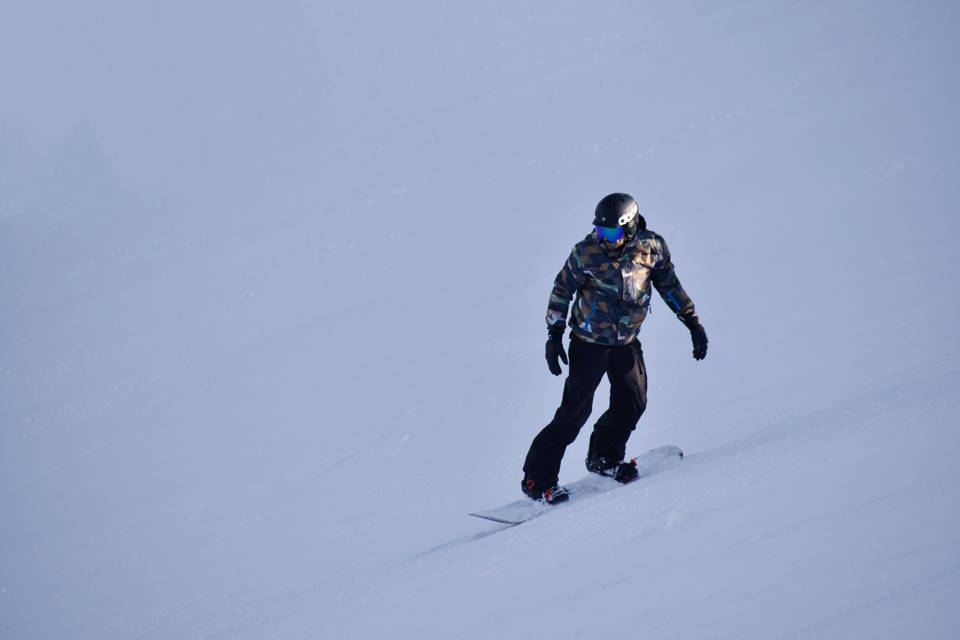
So, you’ve gathered all the necessary tools, prepared your snowboard, and now it’s time for the exciting part – attaching the bindings! The bindings are an essential component of your snowboard as they securely hold your boots in place while you glide down the slopes. It’s important to ensure that the bindings are properly attached for a safe and enjoyable ride. Let’s dive into the steps involved in attaching the bindings.
Firstly, locate the inserts on your snowboard. These are typically found in a pattern near the center of the board, underneath where your feet will be placed. The inserts may be marked with numerical indications to help with positioning. Take note of these markings as they will come in handy later.
- Step 1: Begin by placing one of the bindings over the inserts where your front foot will be positioned. Align the holes on the baseplate of the binding with the corresponding inserts on the snowboard.
- Step 2: Once aligned, insert the screws through the baseplate holes and into the inserts. Use a screwdriver to tighten the screws, ensuring that they are securely fastened but not overtightened. Repeat this process for the other binding on the rear inserts.
- Step 3: After attaching both bindings, give them a gentle shake to ensure they are firmly attached. Check that they are not loose or wobbly, as this could affect your stability while riding. If necessary, tighten the screws a bit more, but again, be careful not to overtighten.
Now that you have successfully attached the bindings to your snowboard, it’s time for a quick test. Step onto your snowboard with your boots securely strapped into the bindings. Shift your weight from side to side to ensure that the bindings hold your boots firmly in place. If everything feels stable, congratulations! You’re one step closer to hitting the slopes.
| Benefits of Proper Binding Attachment: |
|---|
| Increases stability and control while snowboarding |
| Enhances the transfer of energy between your body and the board |
| Reduces the risk of accidents and injuries |
Remember, attaching the bindings correctly is crucial for your safety and performance on the snow. Take your time to ensure that they are securely fastened before you hit the slopes. Now that you’re all set, get ready to carve up the mountain and enjoy an exhilarating snowboarding experience!
Adjusting And Testing The Bindings
Adjusting and testing the bindings is a crucial step in snowboarding. It ensures that your bindings are properly secured to your snowboard and allows for optimal control and comfort while riding. To begin, gather all the necessary tools for this task. You will need a screwdriver, preferably a Phillips head, and a small wrench. These tools will come in handy for adjusting the bindings to fit your boots perfectly.
Once you have gathered the tools, it’s time to prepare your snowboard for binding adjustments. Start by placing your snowboard on a stable surface, ensuring that the base is facing up. This will make it easier to access the bindings. Next, locate the screws that secure the binding to the board. These screws may vary in number and placement depending on your snowboard model.
Now, it’s time to adjust the bindings to match the size of your boots. Check if your boots are securely attached to the bindings. If they are loose, use the screwdriver to tighten the screws until the boots are snugly held in place. Avoid overtightening, as you still want some flex and movement in your boots for a comfortable ride.
| Common Binding Adjustments: |
|---|
| Stance Width: The distance between the bindings can be adjusted to match the width of your shoulders. This adjustment affects your stability and control on the board. |
| Stance Angles: The angle of your bindings can be adjusted to suit your riding style and preference. Common angles include a forward-facing setup for freestyle riding or a slightly angled setup for all-mountain riding. |
| Highback Rotation: The highbacks of your bindings can be rotated to match the natural alignment of your calves. This adjustment improves comfort and control while riding. |
Once you have made the necessary adjustments to your bindings, it’s time to test them out! Strap on your snowboard boots and step onto your bindings. Make sure they feel secure and snug. Shift your weight from side to side to ensure the bindings provide the necessary response and support. If anything feels off or uncomfortable, make further adjustments until you find the perfect fit.
Remember, adjusting and testing your bindings is not a one-time task. As you progress in snowboarding and gain more experience, you may want to experiment with different settings to suit your evolving style and preferences. Always take the time to adjust and test your bindings before hitting the slopes for a safe and enjoyable ride!

