If you’re an avid kayaker, then owning the right equipment to transport and store your kayak is crucial. Purchasing a kayak roof rack or stand can be expensive, but this doesn’t mean you have to break the bank. With a little creativity and some basic DIY skills, you can easily make your own kayak rack or stand at home. We’ll show you how to make a DIY kayak rack, a simple kayak stand, a PVC kayak rack, and even your own kayak cart. These simple and affordable solutions will ensure that your kayak is stored safely and transported efficiently, so you can focus on enjoying your time on the water.
Introduction

Are you tired of paying hundreds of dollars for a kayak rack? Do you want to make your own kayak rack that is affordable yet efficient? We have got you covered. Here is a simple guide to help you build your own kayak rack and save a lot of money.
Materials needed:
- Two 2x4x8 pieces of wood
- Two 1x4x10 pieces of wood
- Six 3-inch wood screws
- Four 2-inch metal brackets
- Electric drill
- Measuring tape
- Sandpaper

Instructions:
- Firstly, sand both pieces of 2×4 wood to make them smooth and polished.
- Take the two pieces of 2×4 wood and cut four 1 ft pieces to make the legs for the kayak rack.
- Take one of the cut 2×4 pieces and drill three holes approximately 4 inches apart on each side of the wood. Repeat this process with the other cut 2×4 piece.
- Attach the 1×4 wood pieces to the bottom of both 2×4 pieces with 3-inch wood screws.
- Attach two 2-inch metal brackets to each corner of both the 2×4 legs to make them stand perpendicular to the ground.
- Place the two 2×4 legs around 4 to 5 feet apart and attach the remaining two 1×4 pieces on top of them using 3-inch wood screws.
- Your DIY kayak rack is ready!
Building your own kayak rack might take some time and effort, but the end result will be worth it. With these simple steps and materials, you can save money and have an efficient kayak rack to store your kayak. You can also customize the dimensions of your rack to fit your space.
How to Make Your Own Kayak Roof Rack

Are you tired of struggling to transport your kayak on long road trips? A kayak roof rack is an essential accessory for any kayaker who wants to travel with ease. You might think that buying a roof rack from a store is the only option, but it’s actually very easy to make your own kayak roof rack at home. Here’s how you can do it!
- Measure the length of your kayak: Start by measuring the length of your kayak to determine how long your roof rack needs to be. Add a few inches to each end to ensure that the kayak is securely held in place.
- Get the materials: You will need two long pieces of lumber, two end caps, and a few bolts and screws. Make sure that the lumber is strong enough to hold the weight of your kayak.
- Attach the end caps: Attach the end caps to the ends of the lumber. This will prevent the kayak from sliding off the roof rack during transport.
- Attach the roof rack to your car: Use bolts and screws to attach the roof rack to the crossbars on your car’s roof. Make sure that the roof rack is securely fastened to avoid any accidents while driving.
- Test the roof rack: Before loading the kayak onto the roof rack, make sure that it is secure and stable. Give it a good shake to ensure that it won’t move during transport.
Making your own kayak roof rack is a simple and cost-effective way to ensure that you can transport your kayak safely and easily. With just a few materials and some basic tools, you can create a custom roof rack that perfectly fits your kayak and your car. Happy kayaking!
How Do You Make a Simple Kayak Stand?
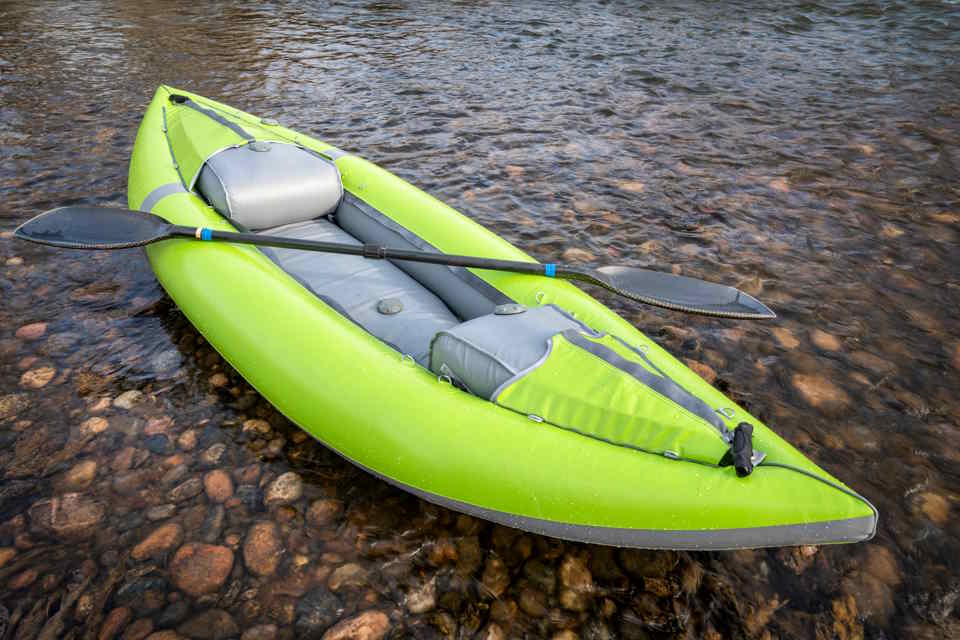
If you’re an avid kayaker, you probably know how important it is to have a secure and stable place to store your kayak when it’s not in use. While there are a variety of kayaking storage solutions out there, sometimes what you need is a simple kayak stand that you can set up in your garage or backyard. We will walk you through the steps of making your very own simple kayak stand using basic materials and tools.
To start, gather all the necessary materials. You will need two 8-foot-long 2x4s, four 3-inch screws, a power saw, a drill, a measuring tape, and a pencil. Once you have all the materials, follow these steps:
- Cut the 2x4s into two 4-foot-long pieces and four 2-foot-long pieces using the power saw.
- Take one of the 4-foot-long pieces and stand it up vertically. This will be one of the legs of your stand.
- Take two of the 2-foot-long pieces and attach them to the bottom of your vertical leg using two of the 3-inch screws. These will act as supports to keep the leg stable.
- Repeat steps 2 and 3 with the remaining 2-foot-long pieces and another 4-foot-long piece to create the other leg of your stand.
- Take the two legs and place them about 3 feet apart from each other with the support pieces facing each other.
- Take the remaining 4-foot-long piece and lay it across the top of the two legs. This will be the crossbar of your stand.
- Use the measuring tape to make sure the crossbar is centered on the legs and mark the spot with a pencil.
- Using the drill, attach the crossbar to the legs with the remaining two 3-inch screws.
And there you have it – your very own simple kayak stand! This stand should be able to hold most kayaks and can be easily disassembled for storage. Plus, it’s a much more affordable option than some of the pre-made kayak stands on the market. This stand is not only practical but also enables you to work comfortably on your kayak when you need to do some maintenance, cleaning, or rigging.
How Do You Make a PVC Kayak Rack?

If you’re a kayaking enthusiast, you know how important it is to keep your gear organized and stored properly. One of the easiest and affordable ways to do this is to make a PVC kayak rack. Not only will it help keep your kayak off the ground, but it also saves space in your garage or backyard. The best part is that it’s relatively easy to make and can be customized to fit your specific needs. Below are the steps on how to make your own PVC kayak rack:
- Firstly, gather the materials you’ll need. This includes PVC pipes, T-joints, elbow joints, and PVC cement.
- Measure and cut the PVC pipes to the lengths you need. This will depend on the number of kayaks you have and how wide they are.
- Using the T-joints, connect the vertical and horizontal pipes to form the base of the rack. Make sure they are secure by applying PVC cement to the joints and pushing the pipes together firmly.
- Attach the elbow joints to the vertical pipes, pointing upwards. These will hold the kayak in place.
- Finally, slip the kayak into the elbow joints, making sure it is centered and balanced on the rack. You can choose to add additional support by attaching bungee cords or straps if desired.

When making a PVC kayak rack, it’s important to consider the weight of the kayaks and any additional gear you plan to store on the rack. If you have more than one kayak, you may want to create a double-sided rack or add more support to the base.
| Pros | Cons |
|---|---|
| Easy and affordable to make | May not be as sturdy as other materials |
| Can be customized to fit your needs | May not withstand harsh weather conditions |
| Space-saving in garages or backyards | May not be suitable for heavier kayaks or gear |
A PVC kayak rack is a great option for those who want a simple and affordable way to store their kayaks. While it may not be as sturdy as other materials, it’s easy to make and can be customized to fit your specific needs. With the right planning and construction, you can have a durable and reliable kayak rack that will last for years to come.
How to Build Your Own Kayak Cart?

Are you tired of lugging your kayak from your car to the water’s edge? Do you wish there was an easier way to transport your gear? Building your own kayak cart might just be the solution you’re looking for. Not only is it a fun DIY project, but it’s also an affordable alternative to purchasing a pre-made cart.
To get started, gather your materials. You’ll need a few PVC pipes, connectors, and wheels. You can find all of these supplies at your local hardware store. Once you have everything you need, begin by cutting the PVC pipes to the desired length. To ensure that your cart is sturdy, it’s important to measure and cut each piece precisely.
- Step 1: Cut PVC pipes to desired length
- Step 2: Connect the pieces using connectors
- Step 3: Add wheels to the bottom of the cart
Once you’ve connected all of the PVC pipes and added the wheels, your cart is ready to use. Simply place your kayak onto the cart and secure it with bungee cords or straps. The cart will allow you to easily transport your kayak from your car to the water’s edge.
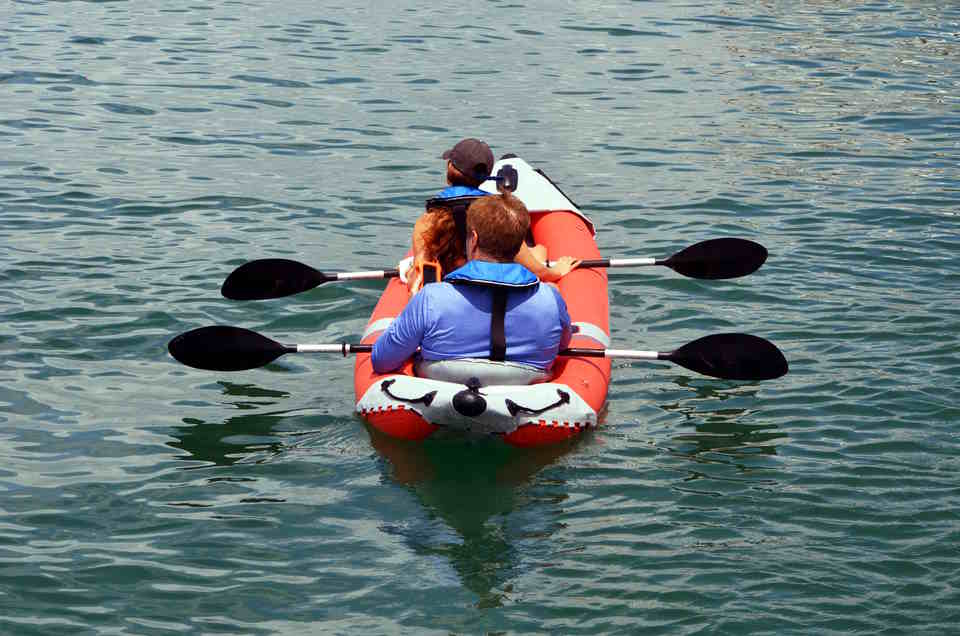
Another great feature of building your own kayak cart is that it can easily be disassembled and stored when not in use. This makes it a convenient option for those who have limited storage space or who only use their kayak seasonally.
| Materials Needed: | Tools Needed: |
|---|---|
| PVC pipes | Measuring Tape |
| Connectors | Hacksaw |
| Wheels | PVC Cement |
In conclusion, building your own kayak cart is an easy and affordable way to transport your gear. Follow the steps above and you’ll be on your way to a more convenient and enjoyable kayaking experience.

