Are you an avid hiker or outdoor enthusiast looking to ensure the longevity of your hiking boots? Proper care and storage of your hiking boots are essential for maintaining their durability and performance on the trail. In this blog post, we will discuss the best practices for hiking boot storage and care to help extend the life of your favorite pair of boots. From properly cleaning and waterproofing your boots to choosing the right storage location and using boot trees for proper drying, we’ve got you covered. Regular inspection for wear and tear is also crucial for identifying any maintenance needs before they become bigger issues. So, if you want to keep your hiking boots in top condition for your next adventure, read on for our expert tips and recommendations.Keep your hiking boots in top condition with proper cleaning, storage, drying, and maintenance. Learn how to keep them waterproof and spot wear and tear.
Properly Cleaning Your Hiking Boots
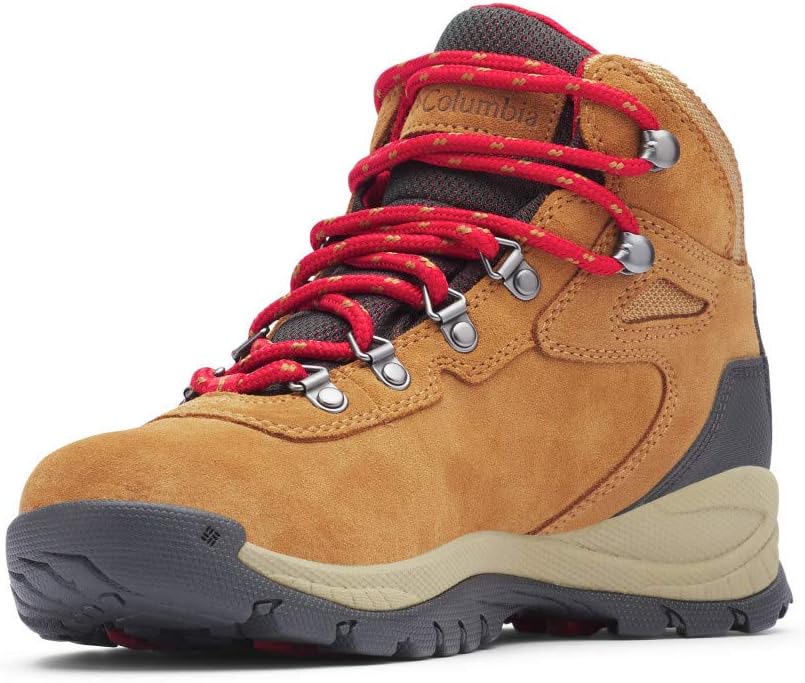
When it comes to hiking boots, keeping them clean is essential for maintaining their durability and performance. After each hike, it’s important to remove any dirt, mud, or debris from the boots to prevent premature wear and tear. This can be done by gently scrubbing the boots with a soft brush or cloth and water. Avoid using harsh chemicals or detergents, as these can damage the materials of the boots.
Once the boots are free of dirt, allow them to air dry naturally. It’s important to avoid using direct heat sources such as heaters or hair dryers, as these can cause the materials to shrink or become brittle. Instead, stuff the boots with newspaper to help absorb excess moisture and maintain their shape as they dry.
For stubborn stains or ingrained dirt, there are specific cleaning products designed for hiking boots that can be used. These products are formulated to effectively clean the boots without causing damage, so be sure to follow the manufacturer’s instructions when using them.
After the boots are clean and dry, it’s a good idea to apply a waterproofing and conditioning treatment. This will help to protect the boots from water, dirt, and other elements, as well as keeping the materials supple and flexible. Again, be sure to use products that are specifically designed for hiking boots, and follow the instructions carefully.
Choosing The Right Storage Location

When it comes to hiking boots, proper storage is crucial to extending their lifespan. The first step in choosing the right storage location is to find a cool, dry area. Excessive heat and moisture can lead to deterioration of the materials and the growth of mold. It’s also important to keep the boots away from direct sunlight, as this can cause fading and damage to the material.
Another factor to consider is ventilation. Storing your boots in a well-ventilated area will help to prevent unpleasant odors and the buildup of bacteria. This could be as simple as placing them in an open shoe rack or on a shelf with sufficient space around each pair to allow for airflow.
It’s also important to store your hiking boots away from any potential hazards. Keep them out of reach of pets who may mistake them for chew toys, and away from any chemicals or sharp objects that could cause damage. Additionally, storing them off the ground can help prevent damage from pests or flooding.
Lastly, consider the importance of accessibility. Choose a storage location that is convenient for you to access, but also out of the way to prevent potential accidents or damage. Implementing a system that keeps your hiking boots organized and easily accessible will make it more likely that you’ll properly care for them.
Using Boot Trees For Proper Drying
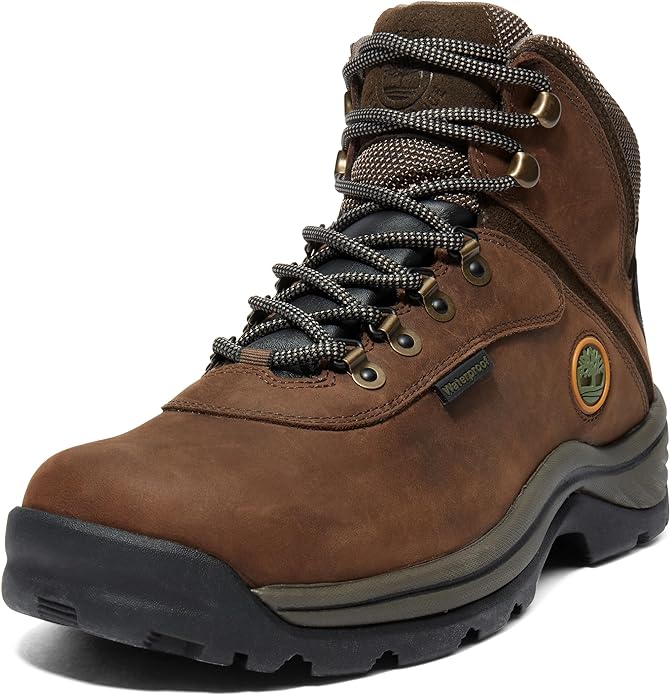
One of the key factors in maintaining the longevity of your hiking boots is ensuring they are properly dried after each use. Using boot trees can be an effective way to facilitate this process. When your boots become wet from outdoor activities, whether due to rain, snow, or water crossings, it is important to remove the moisture as soon as possible to prevent mold and mildew from forming inside the boots. Boot trees are designed to be inserted into the boots to help them maintain their shape and assist in absorbing excess moisture.
Placing boot trees inside your hiking boots after each use allows them to air out and dry more efficiently. The boot trees help to maintain the natural shape of the boots, preventing them from collapsing or developing creases as they dry. This also helps to maintain the structural integrity of the boots over time. Properly drying the boots with boot trees can also help to prevent the leather from becoming stiff or cracked, prolonging the life of the boots.
In addition to using boot trees for drying, it is also important to place the boots in a well-ventilated area away from direct heat sources, such as radiators or fireplaces, which can cause the leather to dry out too quickly and potentially lead to damage. By allowing the boots to dry naturally with the assistance of boot trees, you can help to preserve their quality and ensure they are ready for your next outdoor adventure.
Overall, using boot trees for proper drying is a simple yet effective way to maintain the condition of your hiking boots. By incorporating this practice into your post-hiking routine, you can help to extend the lifespan of your boots and keep them in optimal condition for years to come.
Applying Waterproofing And Conditioning
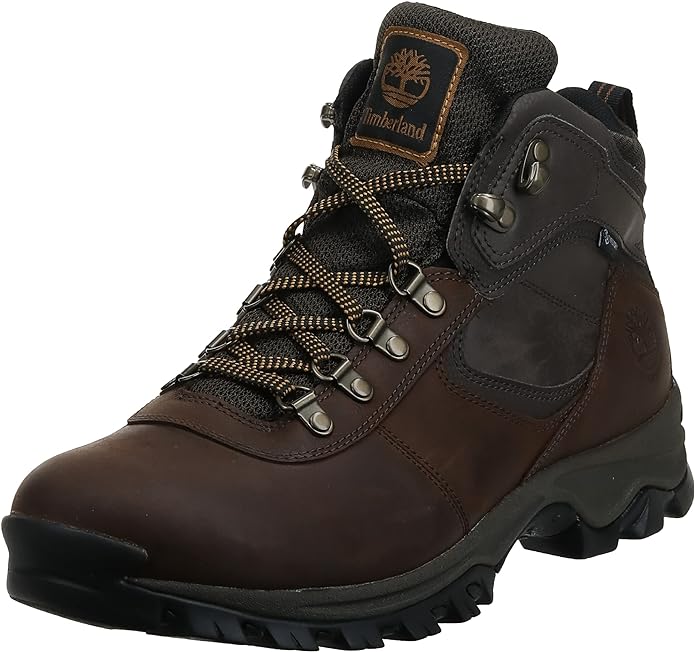
Properly applying waterproofing and conditioning products to your hiking boots is essential to ensure their longevity and performance. Before applying any products, it’s important to clean your boots thoroughly to remove any dirt or debris that could interfere with the effectiveness of the waterproofing and conditioning. Use a brush or soft cloth to remove any visible dirt, and then carefully clean the boots with a damp cloth and mild soap.
Once the boots are clean and dry, it’s time to apply the waterproofing and conditioning products. There are different types of products available, including sprays, waxes, and creams. Choose a product that is suitable for the material of your boots, whether they are made of leather, suede, or synthetic materials. Follow the manufacturer’s instructions for application, and pay particular attention to seams and areas of high wear.
When applying the products, ensure that you are in a well-ventilated area, as some waterproofing sprays and creams can emit strong fumes. Use a cloth or sponge to apply the product evenly, making sure to cover the entire surface of the boots. Allow the boots to dry completely before wearing them, and consider applying a second coat for added protection.
Regularly applying waterproofing and conditioning products to your hiking boots will help to prevent water damage, prolong the life of the boots, and maintain their appearance. It’s important to reapply these products as needed, especially after exposure to water, mud, or other harsh conditions. By taking the time to properly care for your hiking boots, you can ensure that they continue to provide the support and protection you need on all of your outdoor adventures.
Regular Inspection For Wear And Tear

Regularly inspecting your hiking boots for wear and tear is crucial in maintaining their longevity and performance. By taking the time to thoroughly assess the condition of your boots, you can address any issues before they become larger problems that affect your comfort and safety on the trail.
Start by examining the outsoles of your boots, looking for any signs of excessive wear or damage. If you notice uneven wear patterns or worn-down treads, it may be time to consider replacing the outsoles or the entire boot. Additionally, check for any separation between the outsole and the midsole, as this can lead to water seepage and decreased stability.
Next, inspect the upper part of the boots, paying close attention to the stitching, seams, and materials. Check for any tears, rips, or punctures that could compromise the waterproofing or structural integrity of the boots. It’s also important to look for any areas of excessive creasing or distortion, as these can indicate areas of weakness that may develop into more severe damage over time.
Finally, examine the insoles and midsoles for signs of compression, breakdown, or wear. If you notice a loss of cushioning or support, it may be necessary to replace the insoles or consider getting the midsoles professionally reconditioned.

